
I start by asking my students to draw 30-60 second hand gestures. Its a great and easy way to start looking at the hand in its simplest form. I use an AMAZING website I think every teacher should use! Link is below
Below are student examples of 60 second hand gestures. We drew 10 hands – 10 hands drawn in 60 seconds and 15 hands drawn in 30 seconds. I didn’t want to waste a bunch of paper so I wrapped the table tops in butcher paper and they drew directly on top of the table. This allowed them to draw as big as they wanted. I also didn’t want them to waste time trying to figure out how to squeeze all their gestures on their paper – that would cut into their gesture drawing time! They also enjoyed drawing the tables (:


The following class day, they participated in blind contour drawings. We used mini hand statues for reference but you could always ask them to reference their own hand. For blind contour drawings, they place a piece of paper (and a board) in their lap under the table so they could not see what they were drawing. I gave them 60 seconds to complete each blind contour sketch. This activity really helps them focus on just the outline of the hands and not the little details.
Below are student examples of their blind contour drawings


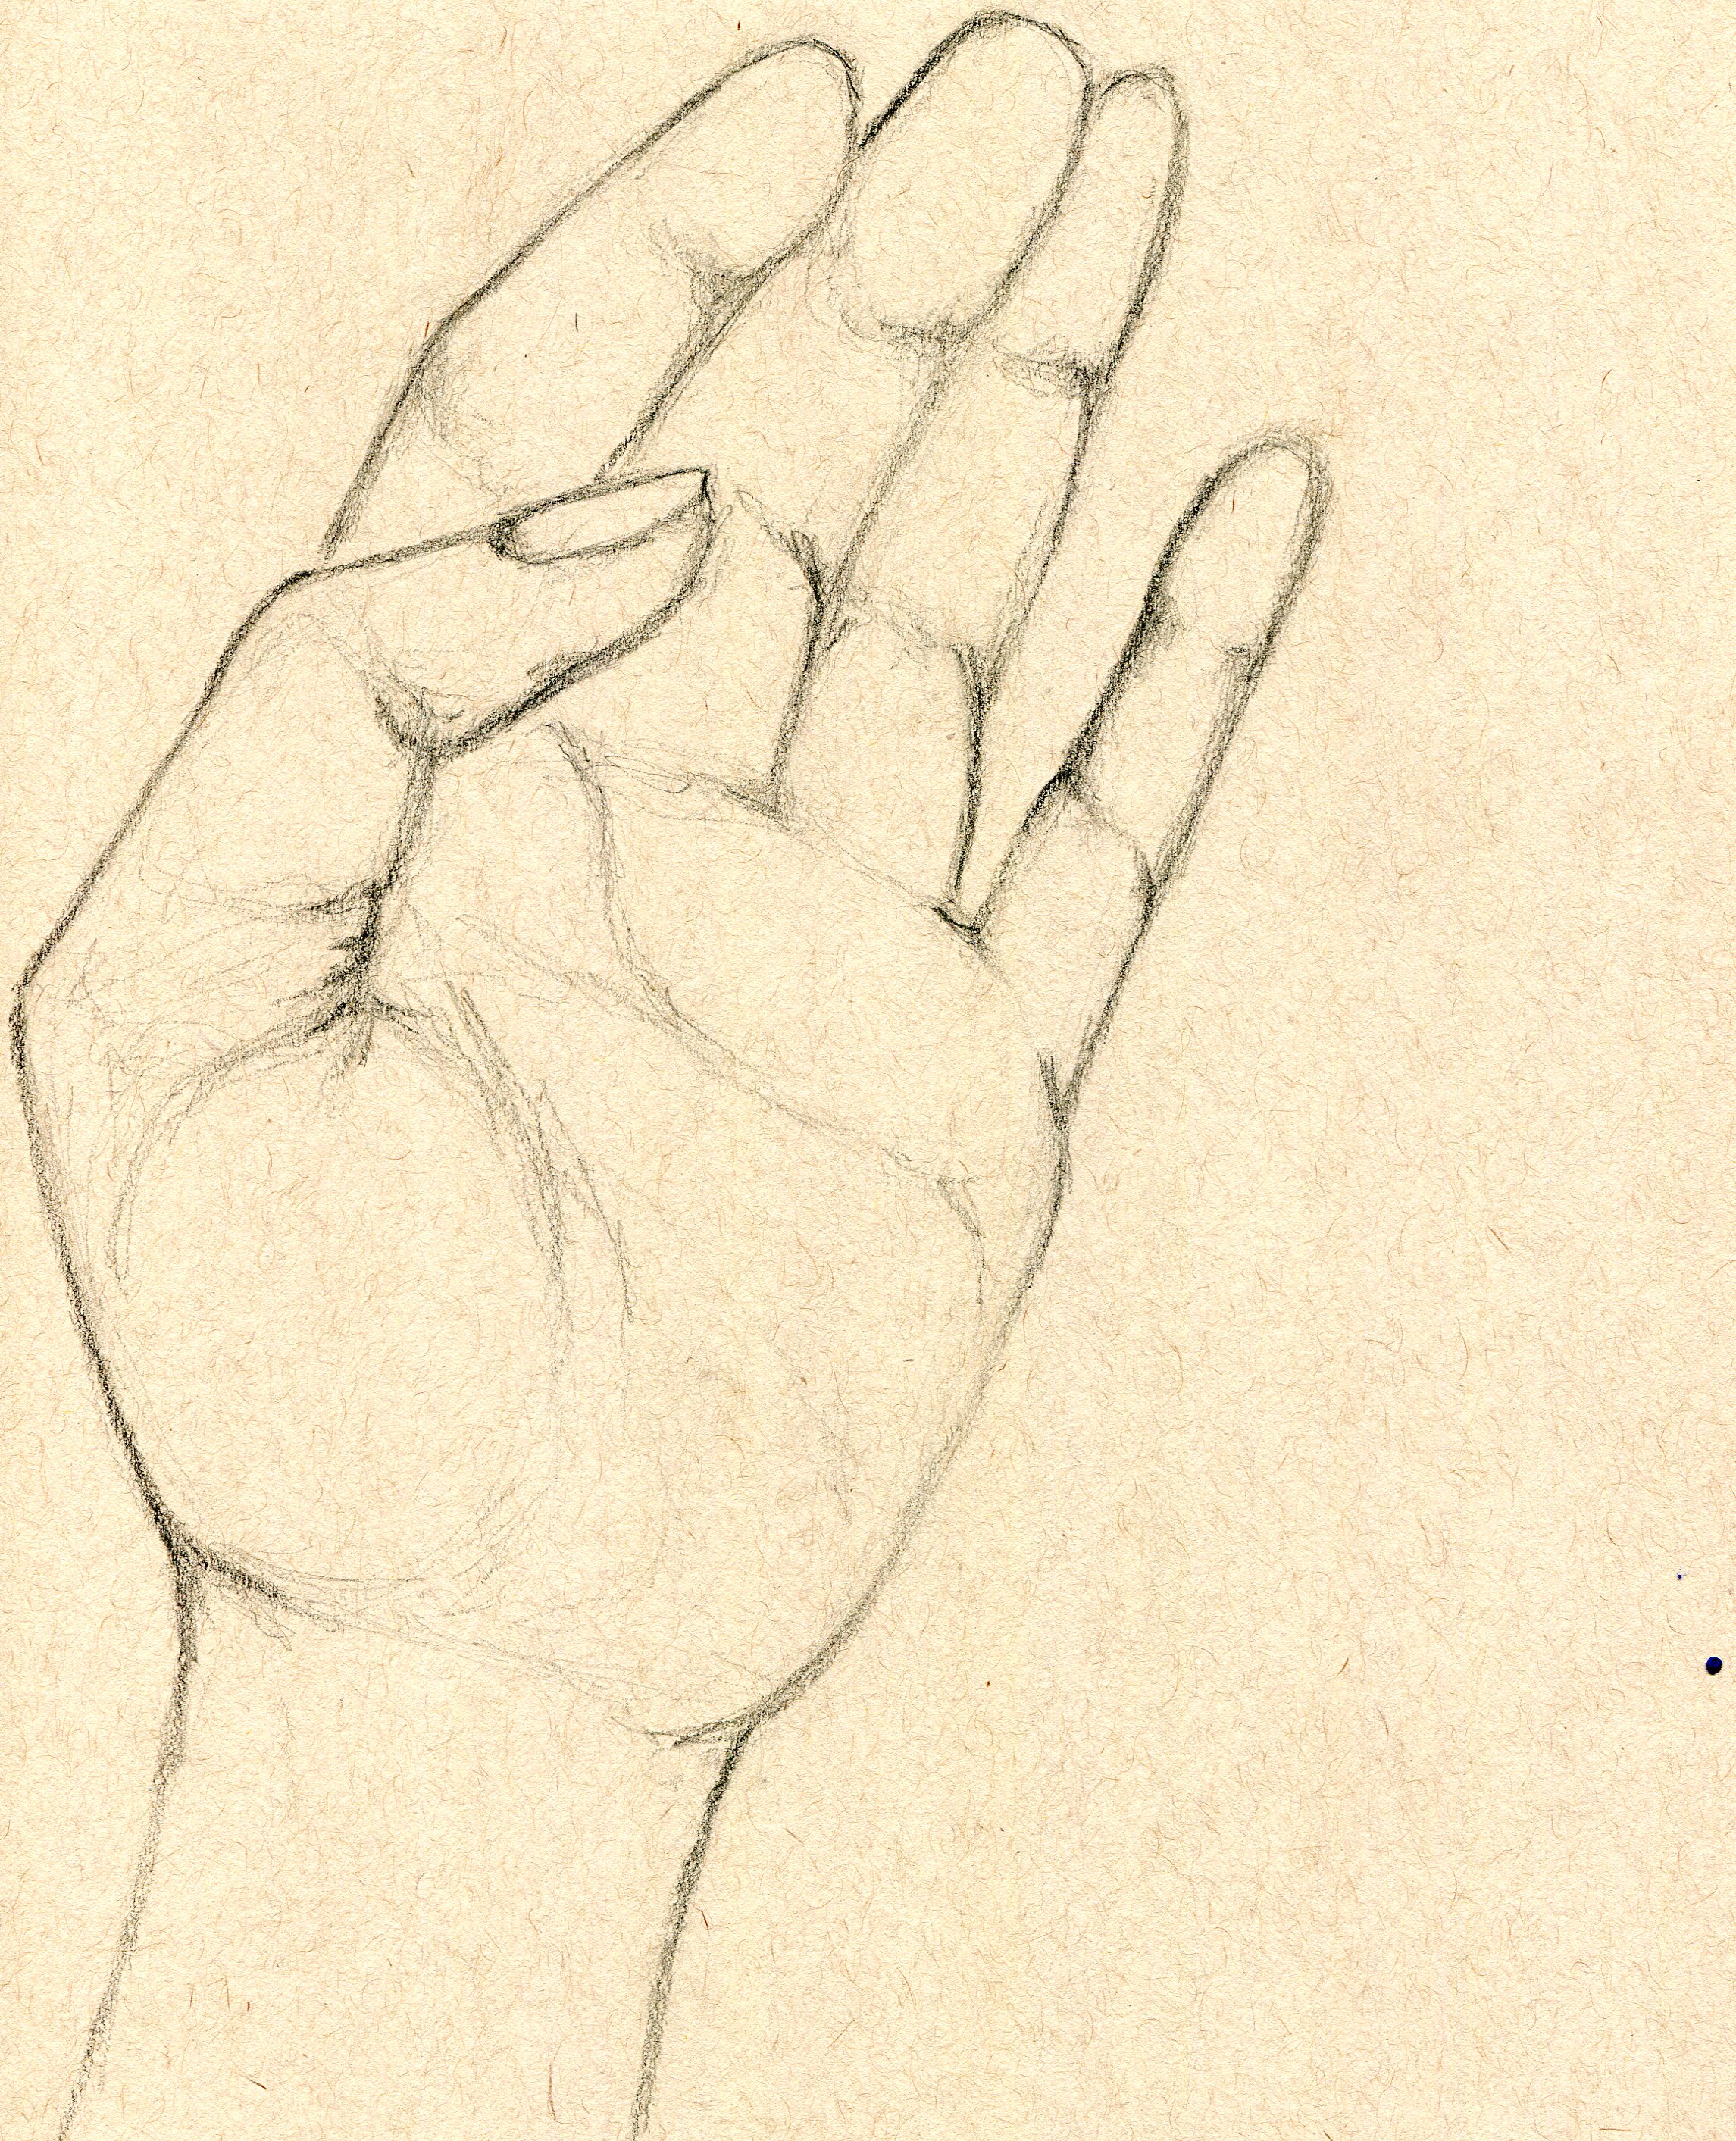
Once I felt that my students were comprehending the basic forms of the hand, we moved onto practicing an actual detailed sketch with graphite pencils. The reference images I used were from the gesture drawing website (I just copied the images I liked, pasted them onto a word document and printed one for each student). They had several days to complete the drawing. Below is a student example:


After the students had completed their sketches, I asked them to draw the following hand image in charcoal and soft black/white pastel. We discussed how to use the materials and how to distinguish a shadow from a highlight (basically making sure it doesn’t fall flat or get to messy).

Below is my teacher example (before and after charcoal) as well as the image I showed my students in regards to how to block out shadows & highlights


Below are student examples:


After their charcoal hand practice, I presented the following PowerPoint:
Here is my PowerPoint for beginning hand studies
The following are final products:


