
Here is an intro to cross hatching/ hatching/ stippling worksheet
After we had gone over hatching/cross hatching/stippling, we jumped into hand and feet anatomy. See my lesson Hand Study for more info about how I begin any anatomy unit. Once the gestures of hands and feet were covered I led them into a practice activity.


I asked all my students to use the same reference image to start off with (it makes life easier I promise). Before they were allowed to move onto shading with graphite they had to check their proportions with me. Once they gotten cleared they began shading the hand NORMALLY – NOT WITH CROSS HATCHING/HATCHING LINES. The reason I ask them to shade with graphite first is to figure out where all the values are. After all graphite work was complete they started adding their lines in ink on top and erasing the graphite underneath. The following is a downloadable version of the reference image I used
The following are student’s in progress work:


The follow are students’ completed cross hatching/hatching practice hand:

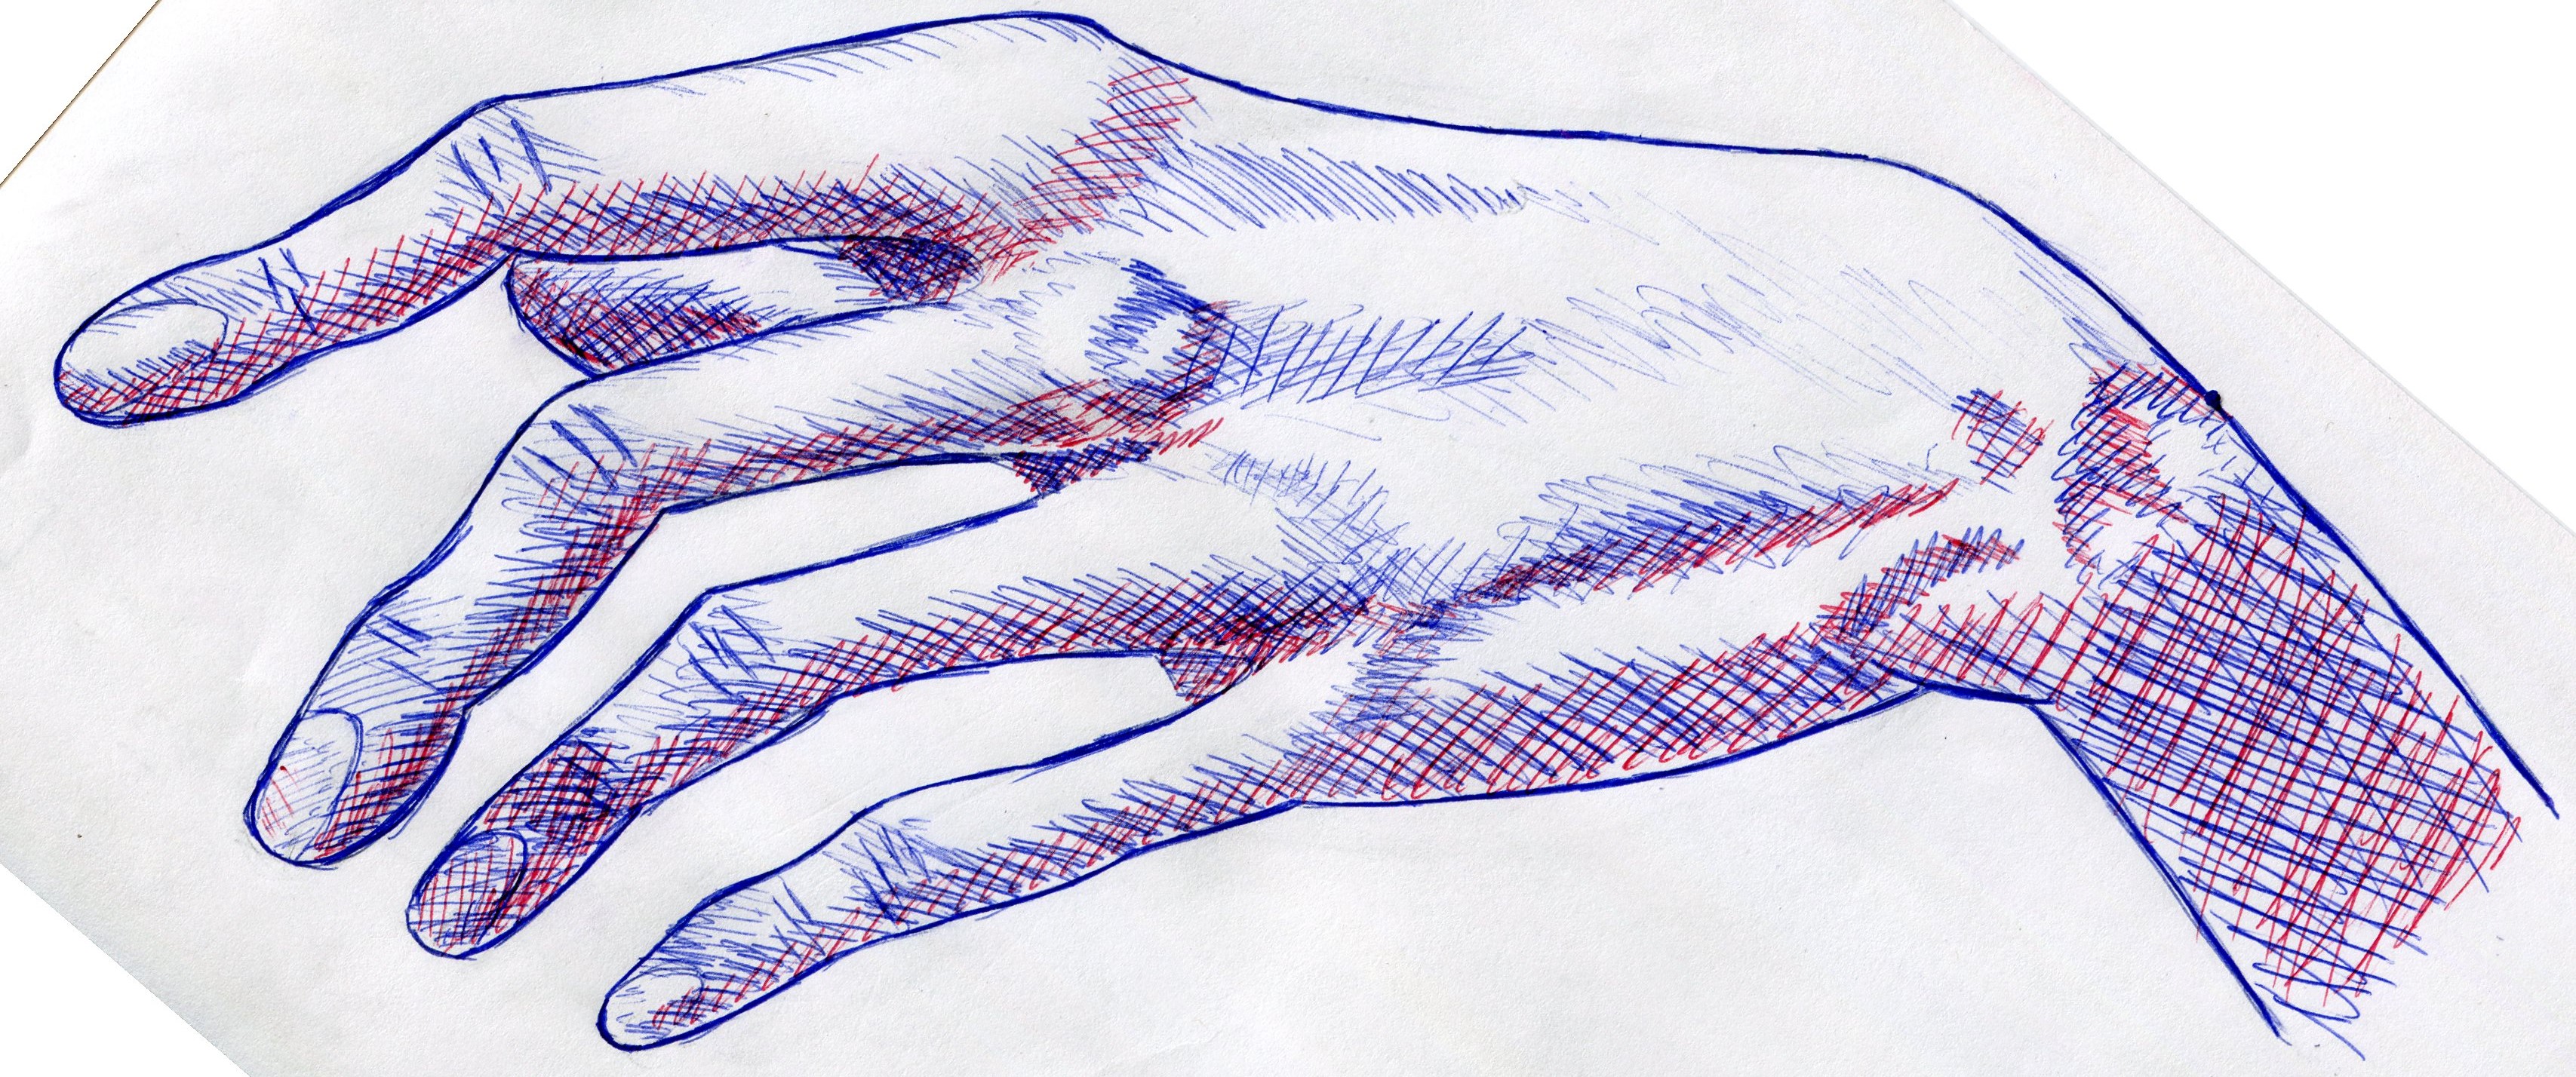
I’m not at all ashamed to admit when a lesson (or part of a lesson) totally flopped! The two images above are the only successful hands that came out of that activity. I ended up doing a step by step demo with my kids before letting them move on to the final project. That live demo SAVED the outcome of this assignment.
For the major project I provided reference images to use or they could find/take their own image. The following are final products:


